How to use your Fat Fungi PF TEK Mushroom Growing Kit
Posted by Fat Fungi on 26th Nov 2024
- Your kit comes pre-sterilized and ready for action.
- Working in a clean environment with minimal airflow is always a good idea.
- Unfold your bag and suspend it for a few minutes by holding the top seal. It’s a good idea to draw some air through the filter and into the bag. You can also gently grab the corners of the empty part of the bag and pull them apart to draw in air.
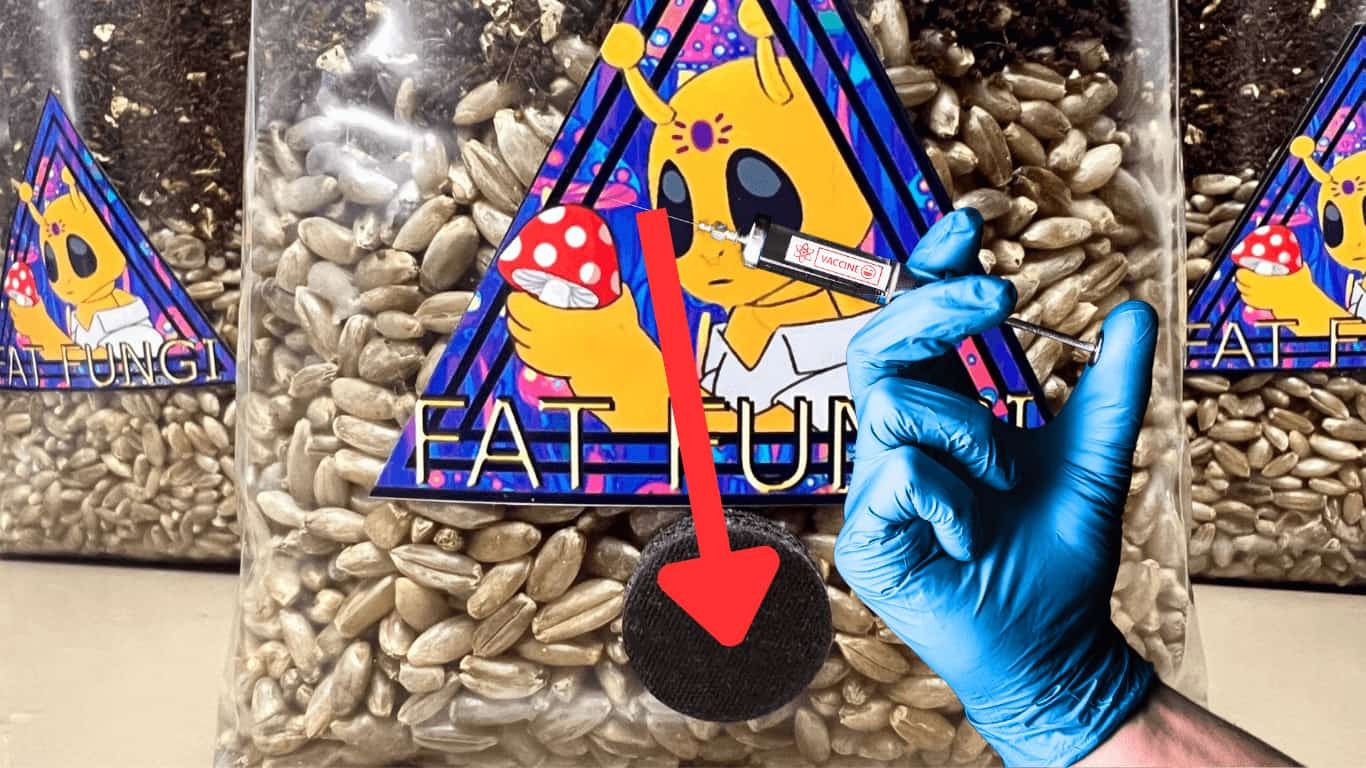
- Use your free alcohol wipe to sanitise your hands, grow bag, and spore/liquid culture syringe payingspecial attention to your injection port if you have one.
- Attach your needle to your syringe. If your needle is new, it is already sterile. If your needle is used, you must flame sterilise it with a needle until it is glowing hot.
- Inject your port with 2.5cc of spore solution or LC.
- If you do not have a port inject port, inject directly into your bag and cover the hole with a piece of tape. Note this method has a higher chance of contamination.
- Remove your needle and flame sterilise between inoculating separate bags.
- If you have anything left in your syringe cap it and store it in your fridge – it will be fine a month.
- Store your bag in a warm spot – boiler cupboards can work well. Do not place it directly on a radiator this will kill mycelium you want a spot around 27C for the fastest growth.
- Spores take up to 7-14 days to germinate so you will need to be patient. Liquid culture is already live mycelium and will begin to grow immediately.
- Soon white mycelium forms around where you injected the bag.
- Keep an eye out for contamination, any non-white growth is bad. A lot of moisture buildup can also signal contamination – it comes in many forms it’s a good idea to research this.
- Keep in mind spores are inherently dirty and prone to carry contamination. This method of growing maximised your chances of success but don’t feel bad if you have some issues.
- Once the mycelium has colonised 20-30% off your bag, break it up and mix it well. The aim is to spread the mycelium evenly around the bag to speed up colonisation.
- Now you wait until the bag is 100% colonised and it’s time to fruit!

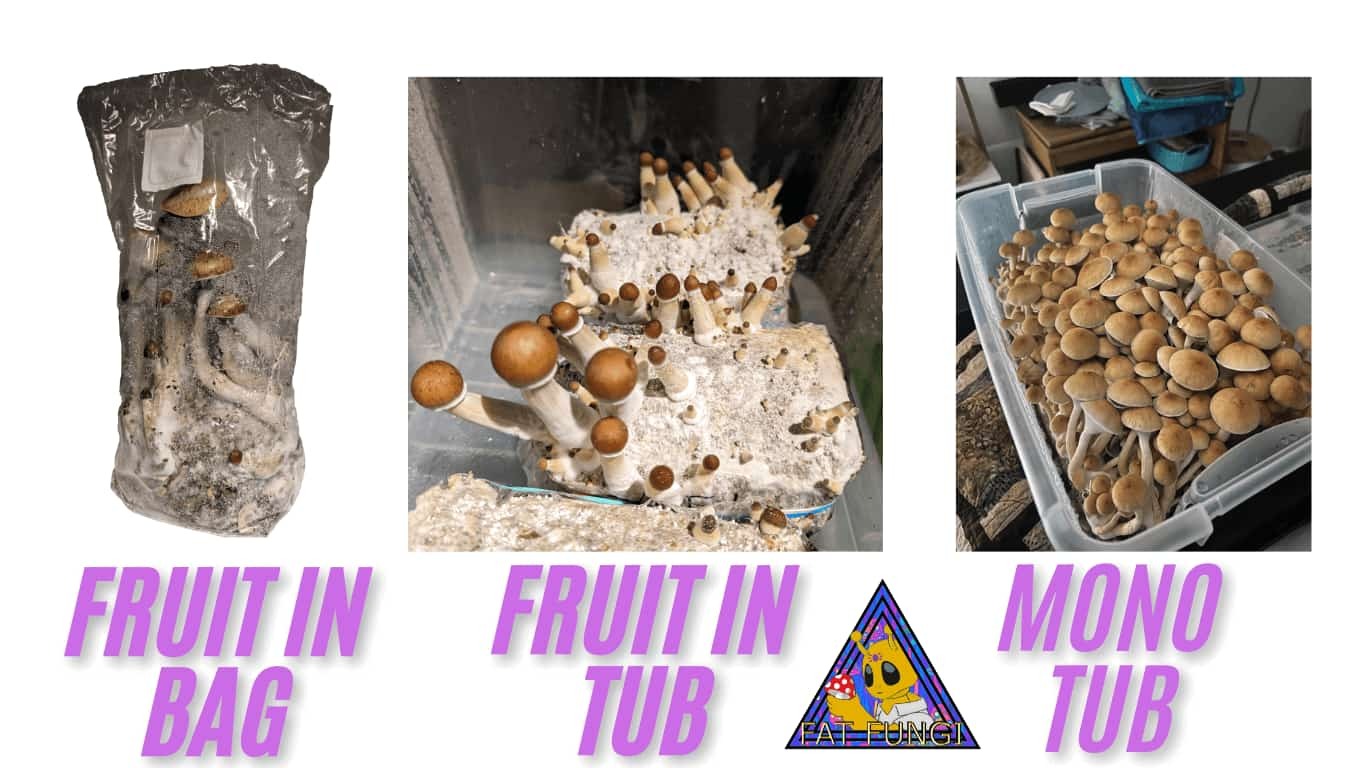
Fruiting in the bag – easier but less yield
- Fruiting mushrooms requires more oxygen to be introduced
- Cut the seal off the top of the bag, fold it over around 1 inch, and hold it down with a paper clip or a piece of tape
- Now wait for pins to form which turn into mushrooms
Fruiting in a tub – bigger yield
- The simplest method is to take a clear plastic container and put in a 1cm layer of vermiculite or perlite
- Hydrate the substrate but avoid too much standing water
- This will keep a high humidity to aid in the mushroom’s growth
- Simply cut the block of mycelium out of the bag and place it into the tub then wait for mushrooms!

Maintaining surface condition
- Humidity is key for mushroom growth
- Ensure your humidity is high enough by looking out for tiny droplets of water in the bag/tub and on the surface
- If the tub or bag is dry spray it with tap water – aim for the sides spraying directly at the mycelium may damage it
- Open the bag/tub and fan it to increase the air exchange twice a day
- If you notice your mushrooms have fuzziness at their base you need more fresh air exchange
When to pick
- Pick your mushrooms just before the veil that covers up the gills/underside of the mushroom breaks.
- If you see spores dropped, you have waited too long to remove the fruit.
- You can remove all fruits in one go or pick them one at a time which allows you to ensure every mushroom has grown to the maximum size.

Second Flush Onwards
- After harvesting you will notice a reduction in the number of mushrooms your tub is producing and a shrink in the size of the block – this is normal as it uses the water in the substrate up.
- Pick all the mushroom pins off the block.
- Fill up the tub with water enough to submerge the block.
- Use a weight to ensure it is fully submerged – it will want to float on the surface.
- Wait 3 to 6 hours before draining the tub as well as possible and return it to your grow area.
- Continue to maintain the surface condition and wait for more fruits.
- You can get 2-3 flushes easily after this the risk of contamination increases a lot.
- Each flush will have a smaller yield as nutrients are used up but fruits tend to increase in size so be ready for monster mushrooms.
Drying your mushrooms
- The mushrooms can be enjoyed fresh however if you wish to preserve them follow these steps.
- Don’t use an oven or anything too hot as it will destroy your mushrooms.
- Although a dehydrator is optimal if this is unavailable lay out the mushrooms so they are not touching, on a piece of paper on top of a radiator and they will be completely dry in a few days.
- Make sure they are cracker dry i.e. when you break a mushroom it makes a snap noise.
- Store the mushrooms in an airtight container and they will last a year or so.

