PF Tek Explained – DIY PF Tek Full Instructions UK – How What When and Why
20th May 2025
Learn how to grow mushrooms at home using the PF Tek method. UK beginner-friendly guide including materials, tips, and grow kits!
What you will find in this post...
- What is PF Tek
- What mushrooms can you grow with PF Tek
- How to make your own PF Tek with measurements
- How to fruit your mushrooms
- More helpful advise from 1000's of mushroom grows!
Sick of everything about mycology being in ounces and quarts?
Well, no worry, Fat Fungi is here! We are going to discuss what PF Tek is, what you use it for and finally how to do it yourself.
Firstly, let’s discuss what Tek means… ‘Tek’ is short for technique, and in the mycology world, it's slapped on any method or process. Call it a Tek and you're halfway there. The PF part refers to Psilocybe Fanaticus, hinting at its humble roots of an easy and affordable way to grow magic mushrooms at home.
Likely invented in somebody’s kitchen, PF Tek has gone on to be one of the most popular ways for beginners to grow mushrooms and it will grow much more than just Golden Teachers.
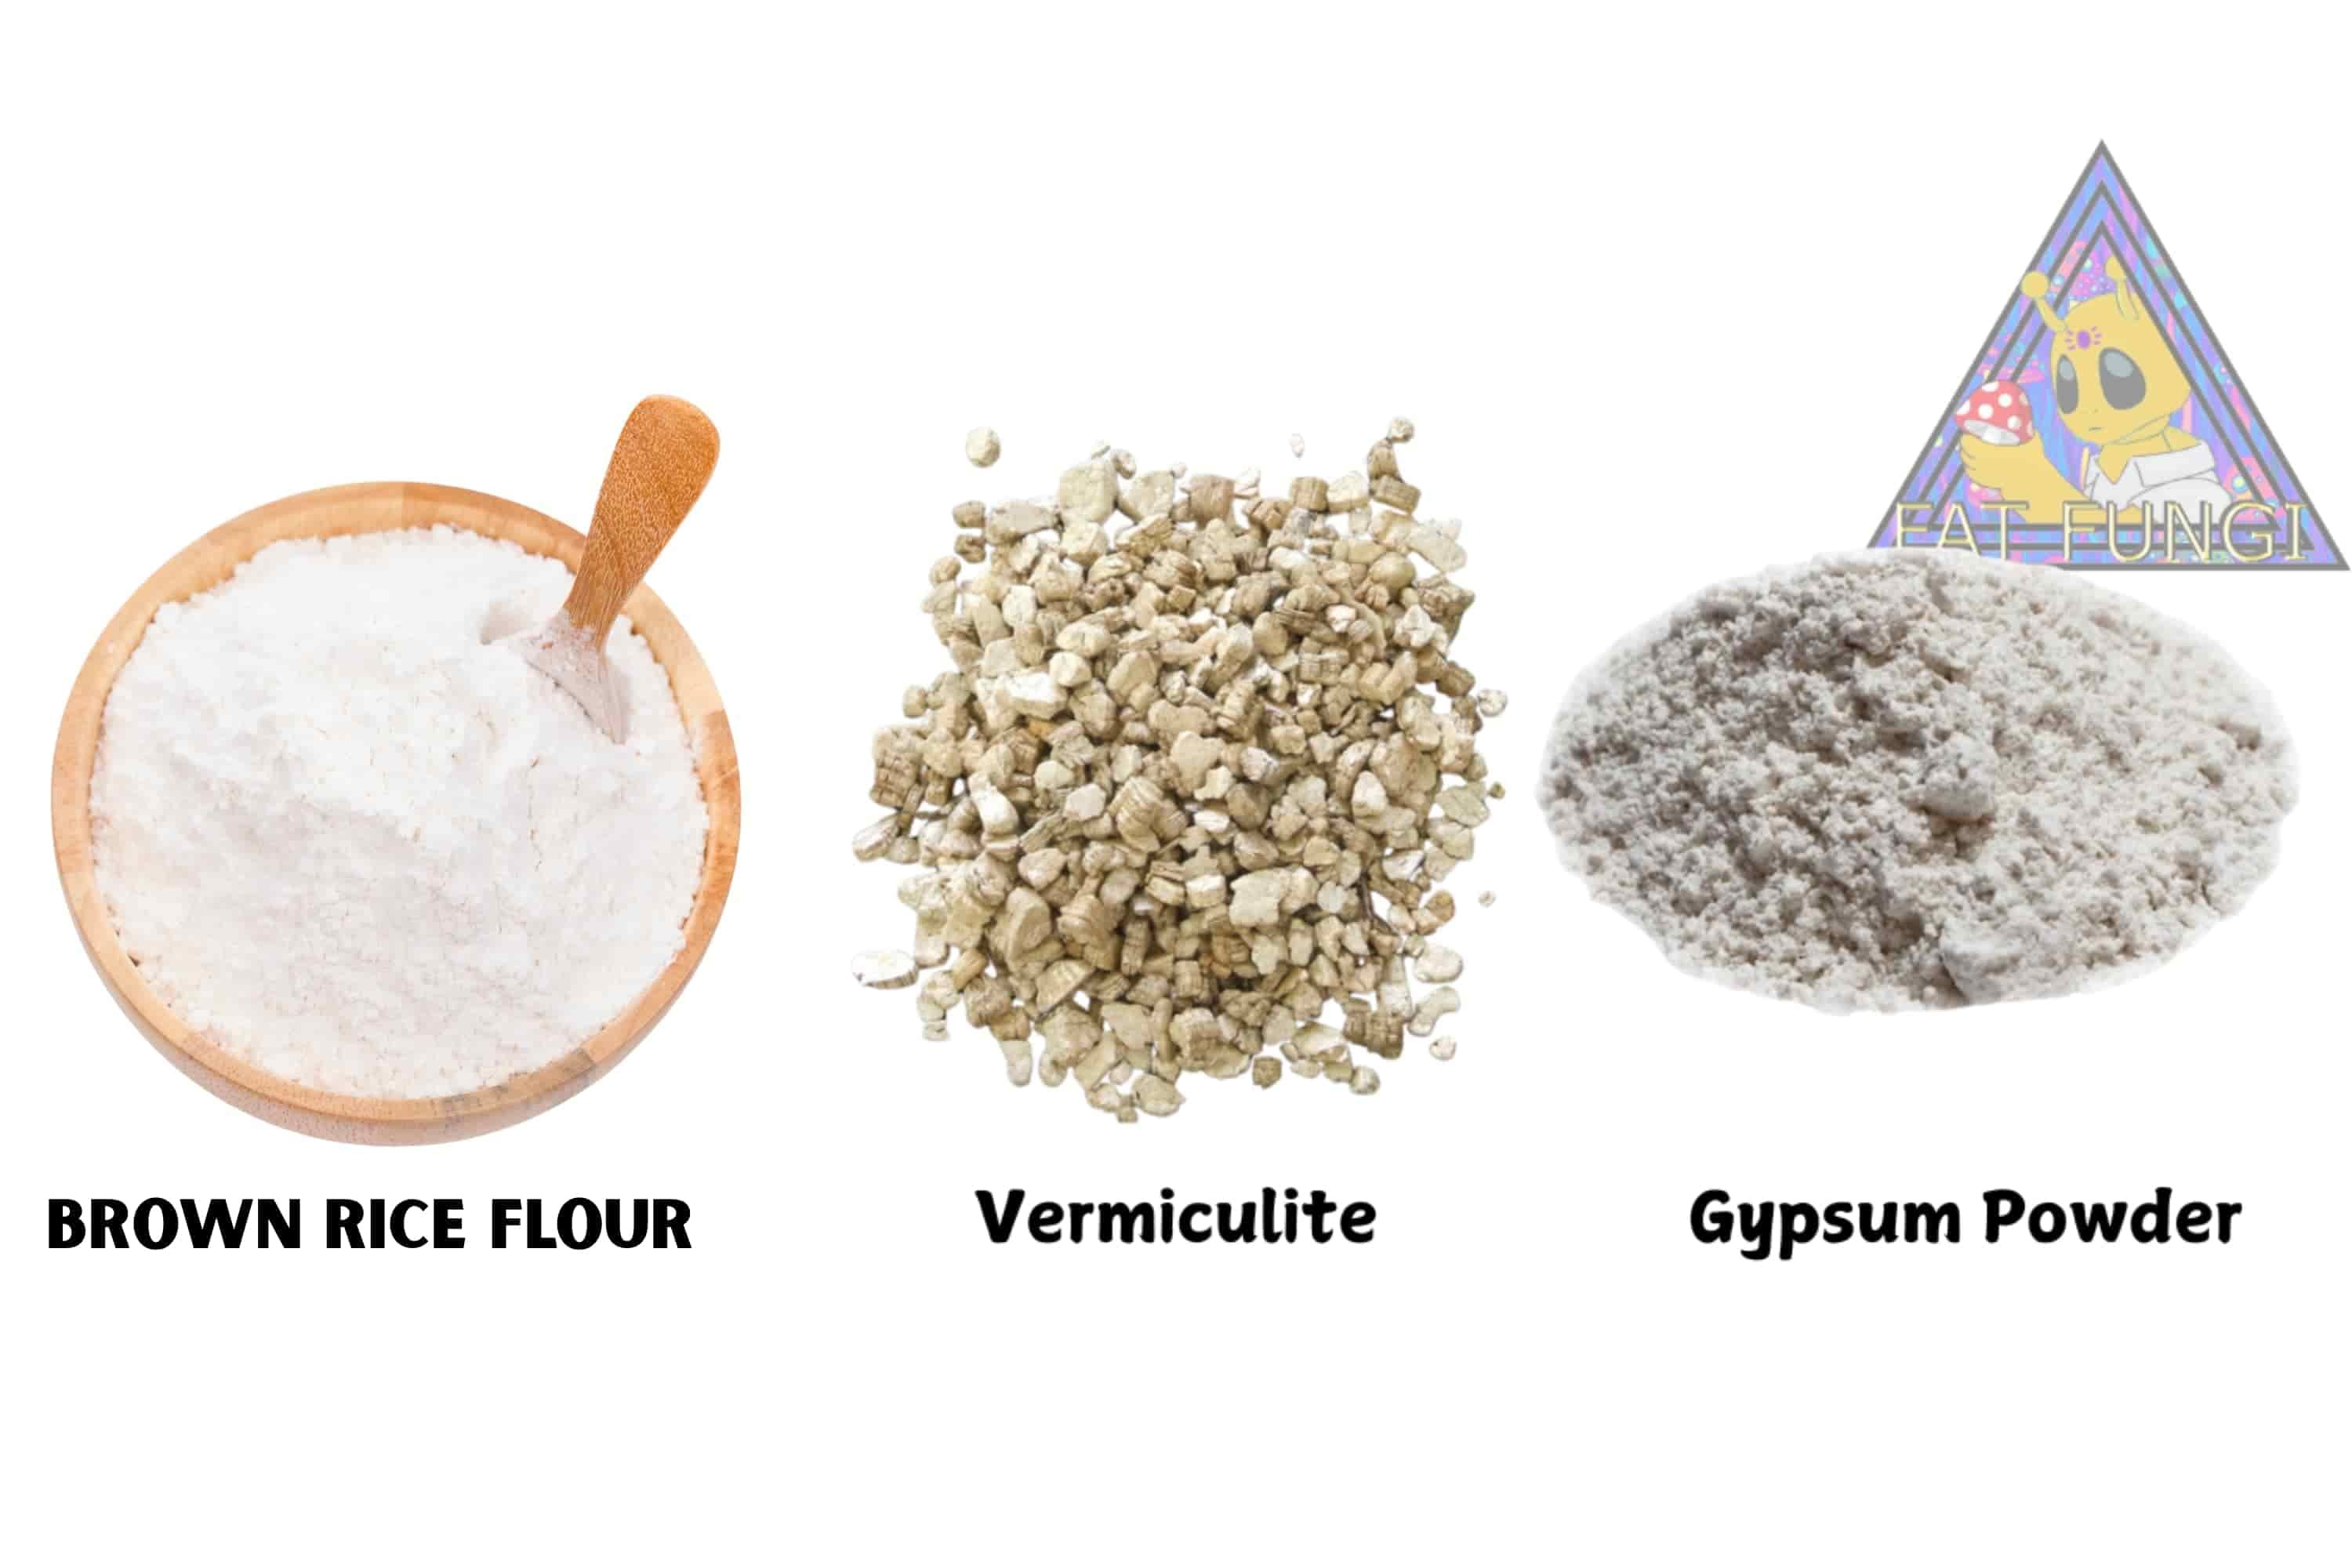
PF Tek utilises a mix of Brown Rice Flour and Vermiculite to grow mushrooms, simply the BRF provides nutrients and the Vermiculite stores moisture and provides structure for mycelium to grow on. Its strength lies in its simplicity, using easy to obtain materials that usually produce mushrooms quicker than traditional rye + substrate routes. PF Tek completely removed the need for a substrate as it is all combined into one lot of golden goodness.
Fat Fungi does not support or encourage and illegal activities. Please find out the rules where you live and follow them.
What type of mushrooms can you grow with PF Tek?
Designed for Psilocybe Cubensis, this Tek is perfect for growing all the crowd favourites like Golden Teacher, B+, Hillbilly and Mckennaii. Many experiments with gourmet mushrooms have taken place and although typically trickier to grow, usually due to their different fruiting preferences; it is definitely possible. Oyster mushrooms are one of the easiest varieties to grow on PF Tek, but many have had success with Reishi, Shiitake and Lions Mane. There are likely many more, less reported species that will grow. A key note is that your yields will suffer greatly unless you modify these recipes to include sawdust, the preferred substrate.
How to grow mushrooms using PF Tek
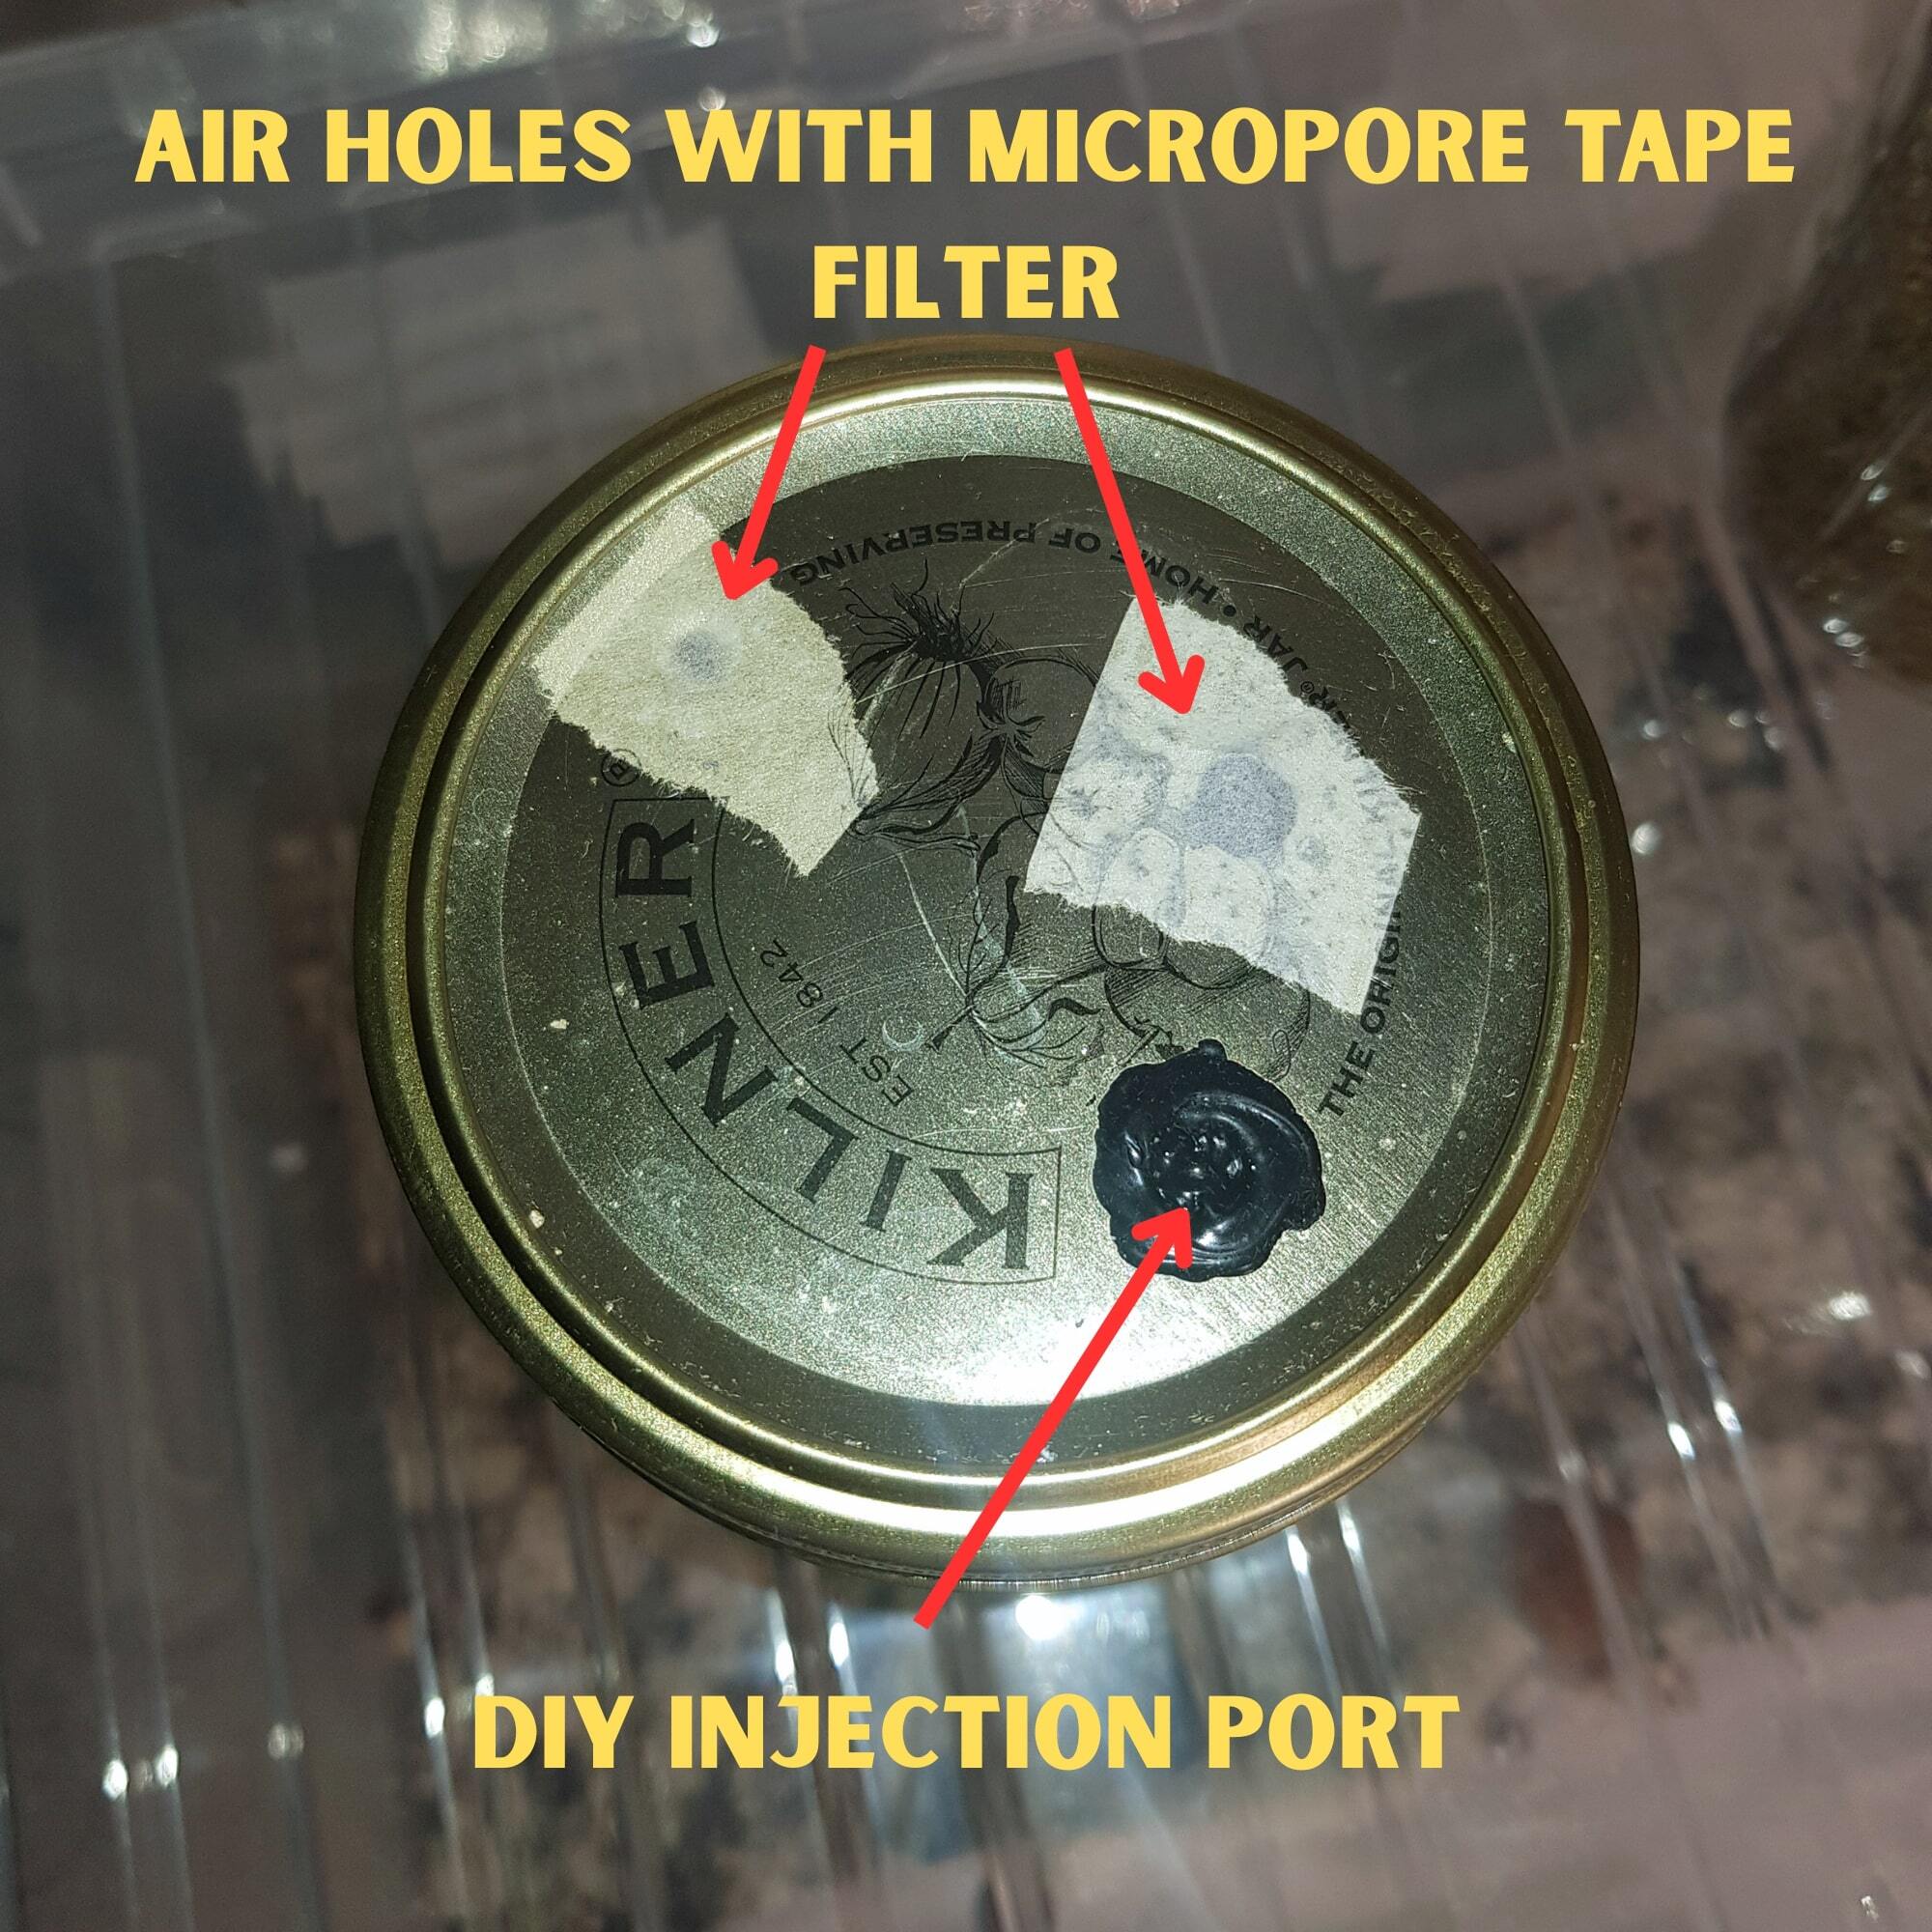
Typically, PF Tek used a wide mouth glass jar with a modified lid. This requires extra materials and extra steps; you can save time by using Mushroom Grow Bags. You will need an injection port to inoculate your jar and some kind of air filter. You can go hi-tech and use some special waterproof filter patches or micropore tape will do fine (can be found in most chemists).
How to prep your Jars if you want
Drill two 1cm holes in the lid - simples. One will act as your injection port and the other as your air hole. These fancy filter patches are waterproof meaning they stop contamination from entering your jar and liquid from exiting. Handy to ensure your substrate stays at the perfect moisture level but three layers of micropore tape will do. Make sure you use 3 layers; a single layer increases your chances of contamination highly.
Stick your injection port over the second hole, these ports are autoclavable, last many grows and do not need to dry however high temp silicone does the same thing with a few hours drying and a lot of mess. Don’t get this on your stuff (speaking from experience.)
You will need:
- Modified wide mouth glass jars or Unicorn bags
- Injection Port
- Kitchen Scale
- Mixing Bowl
- Brown rice flour (preferably organic)
- Vermiculite
- Gypsum
- Pressure cooker
Typically, this full set up can get expensive (£££) so many busy bees prefer a helping hand, these mushroom grow kits are ready made in the UK and much more cost effective for most.
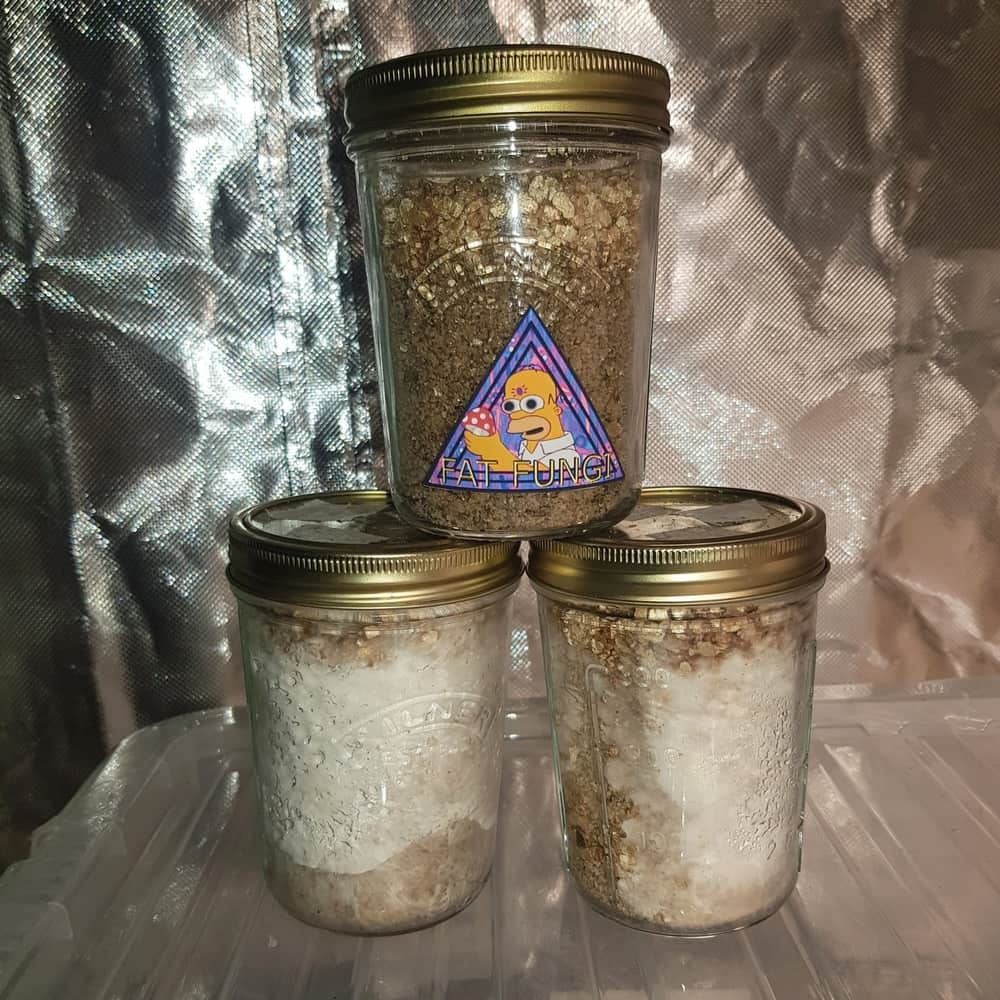
These are my own jars....
Making your PF mixture
We modified the standard ratio of 2:1:0.8 for medium grade vermiculite to brown rice flour to water. In my experiments the thicker vermiculite particles leave more room for the mycelium to breath. PF Tek is prone to condensing down into thick blocks and can stall mycelium growth. For Fine grade Verm use 2:1:1 ratio.
This part depends on how many jars or bags you want to make. For this example, we want to make approximately 4x 1kg bags of PF so we will use 4 litres of Vermiculite. Place it in your bucket or mixing bowl and add 1.6L of hot water. Cold works fine, but the heat helps it absorb into the Verm. Mix this well, I like to let it stand for 5 minutes and come back and mix again before proceeding.
We then add in 2 litres of Brown Rice Flour and mix thoroughly. The aim is to coat every piece of vermiculite in a thin coating of flour. Your mix should be fluffy and light, if it is stodgy or wet your mycelium won’t grow. Don’t ask me why, but PF Tek is very sensitive to moisture levels. Your mix is now ready to go into grow bags. Fill them up and compress them down slightly, don’t squeeze them too much. Fold your bags over (trying to ensure no excess air is left in the bag) with the filter patch on the outside and bosh.
If you are using jars, you can modify this process to make the perfect amount of substrate every time. Say you’re using 4 jars, mix two full jars of Verm with 0.8 jars of water and 1 jar of BRF. Fill each jar to an inch below the top. You need a little room for gas exchange. The OG’s will use a thin layer of vermiculite on top of this to act as a filter but as we have a real filter, what’s the point. You can now drop on your modified lid and screw it down most of the way. Leave a little gap for air exchange and cover the top in foil.
You now will need to sterilise these little bags of germs. Pressure cookers can be grenades if you don’t know what you’re doing so read the instructions, always check the vent hole is clear and stick with reputable branded ones. My first pressure cooker was a cheap eBay one and it lasted me about 5 cycles. Once you get up to pressure, you will need to maintain this for 2-3 hours for full sterilisation. Pressure cookers typically operate at 15 PSI, if yours is higher you may reduce this time or lower extend etc.
Once this is completed, leave them for a minimum of 3 hours to cool or if you wait over night, they will be cool enough to inoculate with your spore syringe straight away. (how to grow using spore blog) Seal your bags immediately after removing them or fully tighten jar lids.
Room temperature is usually fine for colonisation, heating is only required below 20C but ideal temperature is typically 27C. You can research more into your specific species to tweak this. Expect anywhere from a week to a few months for fully colonisation. More on good inoculation practise, spore syringes and liquid culture here. Then you are ready to fruit…
How to fruit your PF cakes
The biggest selling point of using grow bags is this stage, you can fruit in the bag and save time and effort creating a growing chamber. If you’re lazy or short on space, (I’m both) you will never use jars again. You simply trim the seal of the bag and fold over the top. Secure this with tape or a paperclip and wait.
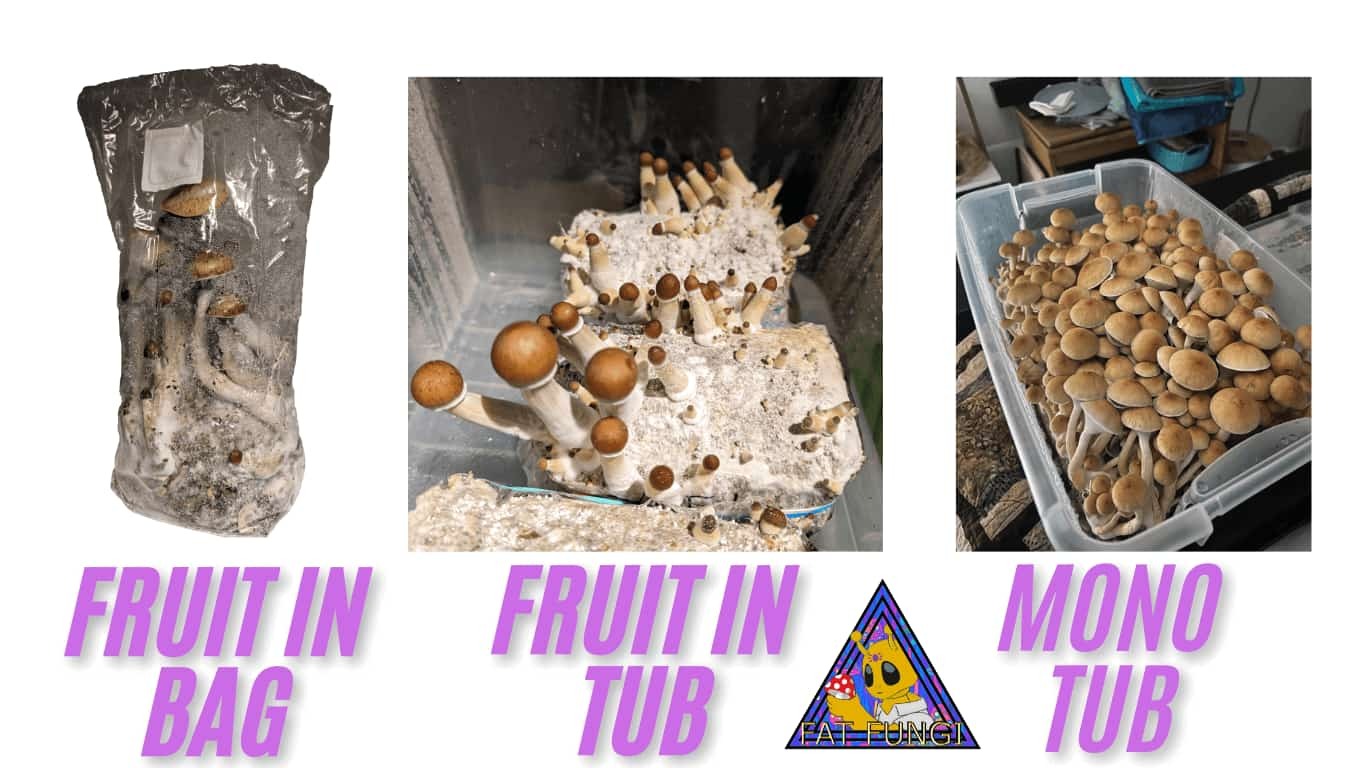
PF Tek cakes are typically removed from jars and fruited in chambers. The most popular method is known as Shotgun Fruiting Chamber. This involves drilling evenly spaced holes on all six sides of a tub, placing in damp perlite and putting your cakes inside to fruit.
You will need to mist regularly for both methods, correct humidity and, surface evaporation and air exchange is key for mushroom fruiting body growth. Although this sounds scary, most commonly grown species of mycelium have undergone this process many times in a lab/home environment which leads to genetics that are much more forgiving to you and me than their wild counterparts.

